Teach Your AI-Built Project to Take Money: A Practical Stripe Integration Guide
The distance from a vibe coding demo to a real business is often exactly one payment button. Stripe is the most vibe-coder-friendly way to collect money: docs an AI can read and get right, hosted Checkout pages with zero frontend work, and Payment Links that collect money in 5 minutes. This guide covers two integration paths, the steps from zero to your first payment, and four pitfalls you're guaranteed to hit — the first of which costs people money every year.
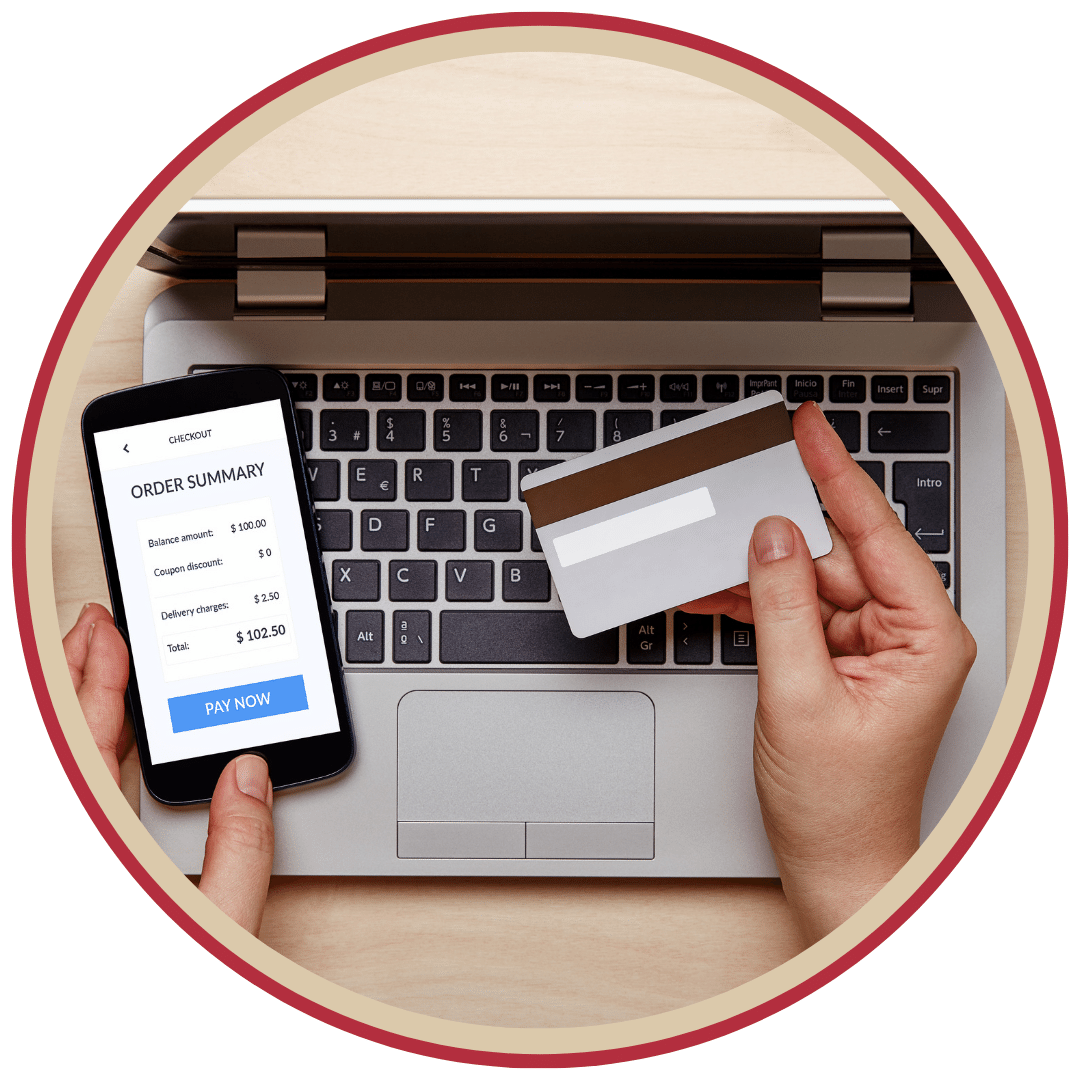
Why Stripe: three reasons it's the friendliest for vibe coders
The distance from a vibe coding demo to a real business is often exactly one payment button. And among all payment options, Stripe is the friendliest for "people who have AI write their code," for three reasons.
One: its docs are written for AI to read. That's not an exaggeration: Stripe's API docs are clearly structured, full of examples, and explicitly versioned — among the highest "agent gets it right first try from the docs" success rates anywhere. Paste a docs link into your agent prompt and it will probably work the first time. Compared to payment providers still living in the PDF era, the gap is generational.
Two: hosted Checkout pages mean zero-frontend payments. No card-number inputs to build, no PCI compliance to touch — Stripe's hosted checkout page handles everything; you just send users there and collect the result. For vibe projects where "design is already enough headache for the agent," this is a lifesaver.
Three: Payment Links collect your first payment in 5 minutes. Create a product in the dashboard, set a price, generate a link, paste it on your landing page — done. During validation you don't need to write a single line of code. Remember the order: collect money first, integrate later.
Two paths: 5-minute Payment Links vs 1-hour Checkout integration
Path A: Payment Links (validation phase). For when you don't know yet if anyone will pay. How: Dashboard → Payment Links → new, pick product, price, whether to allow promo codes, generate the link. Put it on your landing page button. After someone pays, you see the order in the dashboard and provision access manually. Ugly, but fast. Many indie projects ran on this path for three months before writing their first line of payment code — and that's the correct order.
Path B: Checkout Session + webhook (production). For when people are paying and you need automation. Flow: user clicks "Subscribe" → your backend creates a Checkout Session (one Stripe API call, ~5 lines) → redirect to Stripe's hosted checkout → user pays → Stripe sends a checkout.session.completed event to your webhook → your backend verifies the signature, records it, provisions access. The only "hard" code you write in the whole flow is webhook signature verification.
A prompt template for your agent (copy-paste ready): "Implement subscription payments with Stripe Checkout. Stack: [your stack]. Requirements: 1) an API route creating a Checkout Session; 2) a webhook route receiving checkout.session.completed that MUST verify webhook signatures with Stripe's official SDK; 3) price IDs from environment variables, never hardcoded; 4) test vs live mode separated. Follow Stripe's official Checkout quickstart docs."
Four pitfalls you're guaranteed to hit
Pitfall 1: webhooks without signature verification. This costs people money every year. Your webhook URL is public — anyone can POST a forged "payment succeeded" event to it. The fix: trust only the Stripe-Signature header, verified with the official SDK's constructEvent. When having your agent write the webhook, put "MUST verify signature" on the first line of the prompt, not in the footnotes.
Pitfall 2: mixing test and live keys. Stripe's test and live modes are two fully isolated worlds: different keys, different products, different webhooks. The pre-launch checklist is three lines: does the env var start with sk_live_? Is the "Test mode" toggle off in the dashboard? Is the webhook endpoint configured for live mode? Those three lines save someone every year.
Pitfall 3: computing prices on the frontend. Never let the frontend decide what the user pays. The correct pattern: prices live only in Stripe Price objects (referenced by Price ID); the backend passes the Price ID when creating the Session. Any design where "the frontend sends amount to the backend" is begging to be exploited — changing the price to one cent takes nothing but devtools.
Pitfall 4: launching subscriptions without thinking through trials and proration. How many free trial days? Auto-charge or require confirmation when the trial ends? How are mid-cycle upgrades prorated? These aren't technical questions — they're product questions — but they must be decided before code is written, because every Stripe option maps to different API parameters, and rework costs far more than thinking.
After the first payment: pricing, tax, refunds
Getting the tech working is just the start. On pricing, vibe projects have an empirical anchor: $9 / $19 / $49 tiers, with $19 doing the heavy lifting. Don't start at $99 — your acquisition channels can't support high ACV yet; and don't price at $3 — Stripe's fees (~2.9% + $0.30 per transaction) eat a disproportionate share.
On tax: if you have US or EU users, turn on Stripe Tax and let it calculate automatically. Handling cross-border tax manually is hell — don't. A refund policy page is mandatory — without clear refund terms, chargeback disputes will make you question your life choices. One last piece of experience: don't discuss "business models" before the first payment lands. Business models are something you earn the right to discuss after money arrives; before that, your only KPI is whether anyone clicks that Payment Links URL.
From demo to business, there's only one payment button in between. And that button can go live tonight.
Related articles

Amazon runs meetings on six-page narratives; vibe coders can kick off with a README. This guide covers the README-first workflow: write the user-facing docs, then have AI implement to spec — forcing clarity before a line of code, halving rework.
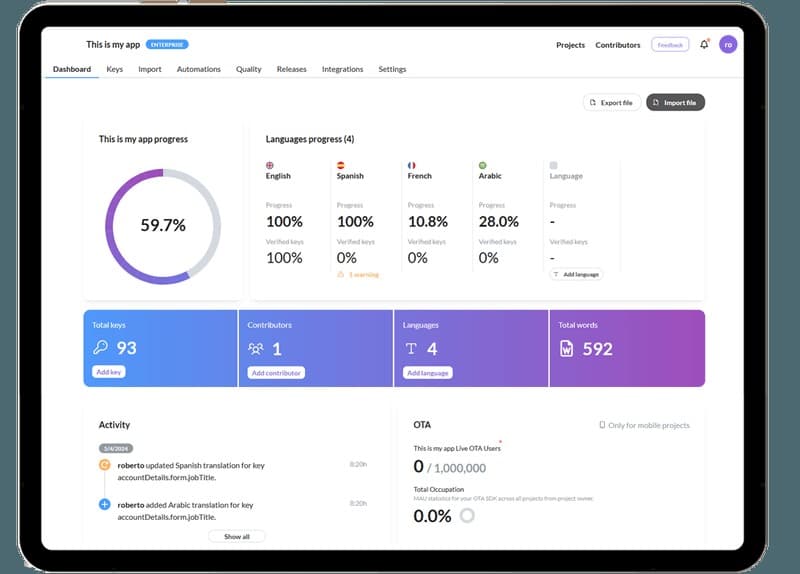
A project introduced in English reaches several times the audience of a Chinese-only one — and AI has driven the cost of the extract → translate → review pipeline down to nearly zero. This guide gives vibe projects a practical i18n playbook: when it's worth doing, how to have AI sweep hardcoded strings into keys, the translation-and-review workflow, four traps you'll definitely hit, and a pre-launch acceptance checklist.

Same model, 10x productivity for one person and daily arguments for another. The difference isn't prompt tricks — it's communication habits. Four habits for pairing with AI: state the goal before the approach, one task at a time, acceptance criteria over vibes, and knowing when to shut up.