From TestFlight to App Store Review: Shipping Vibe Projects to Mobile Stores
From TestFlight to App Store review: a solo-team field guide to shipping vibe-coded mobile apps. The 14-item pre-submission checklist, the three most common Apple rejection codes (5.2.1, 4.2, 2.1) and their typical failure shapes, privacy label traps with third-party SDKs, the in-app account deletion mandate, TestFlight SOPs, Google Play's 12-tester 14-day rule and API 36 gate, plus a rejection first-aid kit with appeal templates and expedited review.
Scope First: What This Guide Covers (and Doesn't)
This guide is about store submission and app review, with a clear division of labor against two existing pieces on this site: the cycle51 news piece google-play-personal-vibe-coded-apps-october-2026 covers Google Play's "personal distribution" (no developer account, install only for yourself) — that's the no-submission path; this guide covers the formal submission path (App Store + Google Play review, both stores). Meanwhile vibe-project-mobile-experience-checklist (the mobile experience checklist) is about "product quality"; this one is about "review compliance" — they're upstream and downstream of each other. Fix the experience checklist first, then pass review after.
The biggest illusion in vibe projects is "the code runs, so it can ship." In reality, between "it runs in the simulator" and "it's searchable in the store" lies an entirely separate discipline: certificates, signing, metadata, privacy disclosures, beta tracks, and review communication. AI can write your code, but it can't answer the reviewer's questions for you. This guide follows the real submission order, section by section, each one a pitfall solo teams actually fall into.
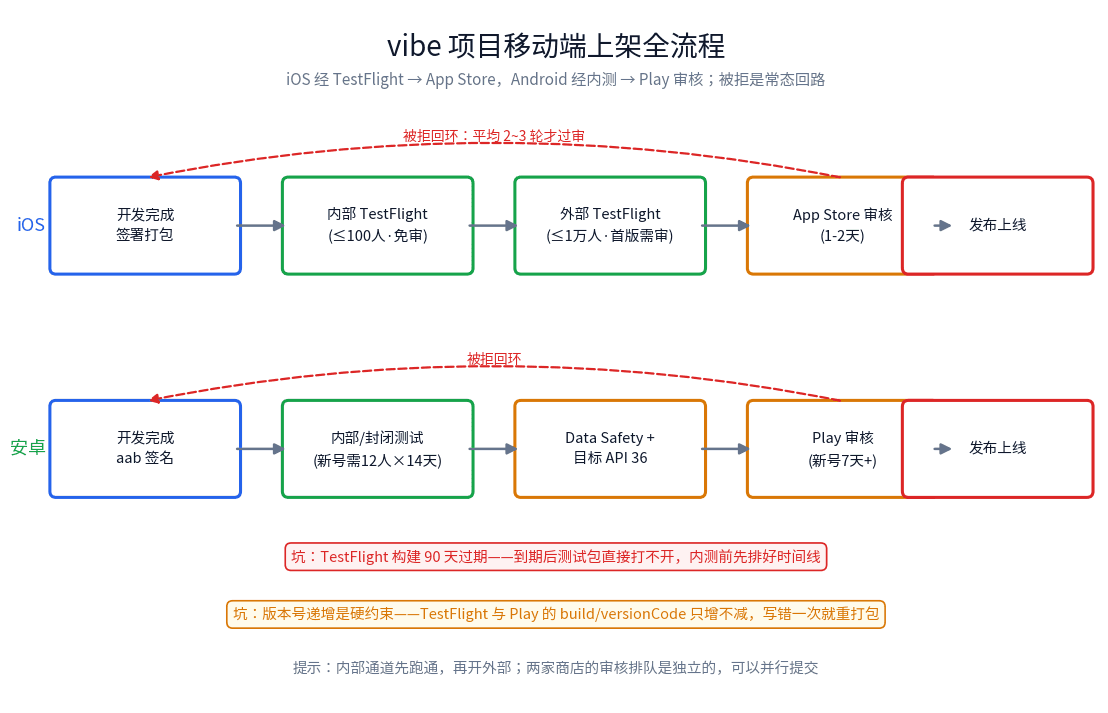
 Flowchart of the mobile app launch pipeline: TestFlight beta, store review with rejection loop, and release
Figure 1: The full mobile launch pipeline for vibe projects — iOS via TestFlight to the App Store, Android via testing tracks to Play review; rejection is part of the process, not an accident.
1. The Pre-Submission Checklist: 14 Items, Each One Worth a Week in the Queue
Before submitting for review, check off all 14 items. Each one is a real-world reason solo teams have lost a week:
1. Lock your Bundle ID / applicationId. The iOS Bundle ID and Android applicationId can't be changed once published. Don't ship with a com.example.myapp placeholder, and don't misspell the company name — the only fix is unpublishing and starting over, with ratings and downloads reset to zero.
2. Back up signing assets offline. The iOS distribution certificate + provisioning profile, the Android keystore file and its passwords. Lose the keystore and you can never update that app on Google Play again. Put them in encrypted backup, not just on one laptop.
3. Configure every in-app purchase product. Price tiers, subscription groups, free trial periods, and a "Restore Purchases" button. The classic vibe-project failure: the AI-generated paywall says "$2.99/month" while the product is configured as tier 3 ($4.99) in the backend — mismatched prices mean instant rejection. Subscriptions need a restore entry point reachable beyond the paywall so reviewers can find it.
4. Push certificates ready. iOS: use an APNs Auth Key (one key works for all apps; don't use a nearly-expired certificate). Android: get FCM configured. Reviewers won't test push, but discovering it's unconfigured on launch day means a wasted release.
5. Verify deep links both ways. The iOS Universal Links apple-app-site-association file and Android App Links assetlinks.json must already be deployed at the domain root and reachable over HTTPS. AI-generated code often "pretends" deep links are configured — the file was never uploaded, the Content-Type is wrong. Review doesn't check this, but you'll be exposed the moment a user taps a shared link and lands in a browser.
6. Privacy policy URL must be live. It has to be a publicly openable web page — not a markdown link inside a GitHub repo (bare file pages get flagged as invalid), and not a 404. Bilingual apps should ideally ship one in each language.
7. Privacy disclosure forms completed. The App Store's Privacy Nutrition Label and Google Play's Data Safety form (see Section 3). A form that contradicts actual code behavior is a top rejection reason — finish the forms before submitting.
8. Account deletion entry point is live. See Section 4 — this is a hard rule. Don't submit without it.
9. Demo account for the reviewer. Login required to use the app? Fill in demo credentials under "App Review Information" in App Store Connect. The most common 2.1 rejection for vibe projects is simply "the reviewer couldn't get in." The demo account should walk through the core flow — don't hand over a zombie account with empty data.
10. Answer export compliance honestly. If you use HTTPS (you do), you must answer the encryption questions; standard HTTPS qualifies for exemption. Don't let AI guess yes/no for you — a wrong answer sends you back through the whole process.
11. Meet target version requirements. New Android apps must target API 36 (Android 16, effective August 31, 2026); build iOS with the current year's Xcode. These are hard gates enforced by machines at submission time — no human review involved.
12. Screenshots and metadata compliance. All required screenshot sizes present (don't fuss over simulator status bars, but sloppy ones look unprofessional), no "free" in the description when there's paid IAP inside, no competitor names, no "beta" wording.
13. One full pass on real devices. Reviewers use real hardware on the latest OS. Code that runs in the simulator dies in its own special ways on real phones — weak networks, dark mode, large text. Borrow at least one old iPhone and run launch plus the core flow.
14. Third-party SDK privacy manifests. Since May 2024, iOS requires commonly used third-party SDKs to ship privacy manifest files — check every SDK in your Podfile/Gradle file is on a compliant version. Analytics, push, and crash-reporting SDKs are the danger zone; see Section 3.
2. App Store Review in Practice: The Three Big Rejection Codes
Apple's review notes are templated — the guideline number is the diagnosis code. Vibe-project rejections cluster around three of them:
5.2.1 Legal / Intellectual Property & Privacy. The number-one killer of vibe projects, in three typical shapes. First, the privacy policy link is dead or doesn't match — the AI-generated template still contains "[Your Company Name]" placeholders, and reviewers spot it instantly. Second, hollow permission descriptions: requesting camera access with just "needs camera access" — the correct form is "needs camera access to scan [specific feature]." iOS requires a purpose string for every permission; vague ones get bounced. Third, collecting data while the privacy label claims "no collection" — integrating Firebase Analytics while checking "data not collected" is the textbook 5.2.1 death.
4.2 Minimum Functionality. Apple's own words: apps "should include features, content, and UI" — in plain language, repackaged websites get rejected. The typical vibe-project shape: wrapping the marketing site in a WKWebView and submitting; or an AI-generated "expense tracker" with three CRUD screens and zero native experience. The minimum bar for passing: native navigation, a core feature usable offline, and at least one interaction a webpage can't do (push, gestures, home-screen widgets — pick one). If yours is genuinely a content app, make the content substantial — empty list pages and "coming soon" placeholders are 4.2 targets.
2.1 Crashes & Completeness. The reviewer taps once on an iPad, it crashes, you get a 2.1. Vibe-code crashes have a distinctive signature: they only crash on specific OS versions (AI-generated code written against old APIs behaving differently on new systems), only with no network (no offline fallback), or only in the reviewer's region (hardcoded services that exist only in your region). Before submitting, do three things: zero out crash logs in Xcode Organizer, run one round with external TestFlight testers first, and make every network request in the first 3 seconds of launch fallible and retryable.
When a rejection lands, don't panic: read the guideline number first (the diagnosis), then the reviewer's reproduction steps and screenshots (the lesion), then the Resolution Center history (prior offenses). 80% of rejections are "fix what they said and resubmit" cases; only the remaining 20% need an actual appeal (see Section 7).
3. Privacy Labels: How to Declare Data Collection Without Getting Bounced
The Privacy Nutrition Label is a questionnaire in App Store Connect asking "what data does your app collect, and for what." Getting it wrong costs you a 5.2.1 rejection. There is exactly one core principle: declare what your SDKs actually do, not what you wish they did.
The most common trap is joint liability for third-party SDKs. Your own code may collect zero data, but the moment you integrate any of these, you are "collecting": push SDKs (Firebase Cloud Messaging and equivalents) take device identifiers and push tokens; analytics SDKs (Firebase Analytics, and regional equivalents) take device info and usage behavior; crash reporters (Crashlytics, Sentry) take device models and crash logs; ad SDKs go without saying. All of it must be declared as "collected" on the privacy label, with purposes like "Analytics" or "App Functionality" selected accordingly. Since May 2024 Apple also requires commonly used third-party SDKs to ship their own privacy manifest files — projects integrating old SDK versions should upgrade before submitting, or the build phase itself will warn you.
The solo-team form-filling SOP: 1) list every third-party SDK and copy the "data collected" section verbatim from each vendor's privacy docs; 2) map each against Apple's 14 data categories (contact info, identifiers, usage data, diagnostics, etc.); 3) think hard about "used for tracking" — if you use the advertising ID or share data across apps, you must check "yes," which then requires an App Tracking Transparency prompt; skipping the prompt after checking "yes" gets you rejected too; 4) after filling it in, have someone who didn't build the app read it — "can an outsider understand what you're collecting?" The reviewer is that outsider.
One more invisible trap: the form and the privacy policy text must agree. The label checks "collects precise location" while the policy says "we do not collect location data" — contradictions like this are a reviewer's favorite catch. Change one, change both.
4. The Account Deletion Iron Rule: Deletable From Inside the App
This is a hard Apple requirement (Guideline 5.1.1(v), effective June 30, 2022): if your app supports account creation, it must offer account deletion from within the app. "Email support to delete" doesn't count. "Delete it on the website" doesn't count. Deactivation doesn't count — the user must be able to initiate deletion themselves in a few taps inside the app.
The minimum viable implementation for a solo team, in two steps. Step one, client: put a red button under "Settings → Account → Delete Account"; require a second confirmation (have the user type DELETE or long-press, to prevent accidents), then call the backend endpoint. Step two, backend SOP: the DELETE /api/account endpoint does four things — invalidates all login tokens, deletes or anonymizes user-generated data (posts, orders, chat history: either hard-delete or detach from the account), cleans up the user's records in third-party services (push aliases, analytics IDs), and, for Sign in with Apple users, revokes the Apple authorization token via Apple's API. A grace period (e.g., reversible within 7 days) is allowed, but it must be stated in the UI.
Note that Google Play goes one step further: besides the in-app entry point, it requires a public web deletion entry point (a deletion request page viewable without logging in). If you're shipping on both stores, build both at once: the in-app button plus a /delete-account page on your website. Put both locations in your review notes and save yourself a round trip.
Decide the data-retention boundaries up front: legally required records (transactions, invoices) and fraud-prevention data may be kept, but the privacy policy must state "after account deletion we retain X data for Y days because Z." Reviewers accept "justified retention"; they don't accept "silent retention."
5. TestFlight Beta SOP: Groups, Build Numbers, and the 90-Day Expiry
TestFlight is Apple's official beta channel and the last proving ground before submission. Two tester types, two use cases:
Internal testers (up to 100). Must be App Store Connect team members. Builds are installable as soon as processing finishes — no Apple review — ideal for multiple fast iterations per day. The solo-team playbook: add yourself, friends, and early users as internal testers; ship a fix in the morning, get it verified the same day.
External testers (up to 10,000). Invited by email or a public link. The first external build needs one Beta App Review (about a day; lighter checks than full review); subsequent builds of the same version auto-approve. Best for the pre-launch public beta. Warning: a public link can't be taken back once shared — a leaked link is a de facto public beta, so don't use public links for sensitive builds.
Three hard constraints — write them into your release SOP: First, builds expire after 90 days. A TestFlight build dies automatically 90 days after upload; testers' apps simply stop opening (local data included). For long beta cycles, ship a fresh build around day 80 to renew — don't wait for users to ask "why won't the app open." Second, build numbers only go up. The build number (CFBundleVersion) must increase with every upload; one typo means repackaging and re-uploading. Use fastlane's increment_build_number or Xcode's automatic management — never hand-type it. Third, write "What to Test" for every build. Tell testers what this build is for, or your 100-person beta group becomes 100 people all testing the login screen.
One extra tip for vibe projects: treat TestFlight crash reports and tester feedback as a dress rehearsal for formal review — Apple reviewers test less deeply than one serious external tester. Run external testing for two full weeks with crashes at zero before submitting, and you'll push the odds of a 2.1 rejection to the floor.
6. The Google Play Side: Three Gates Apple Doesn't Have
Play's review logic is entirely different from Apple's, with three gates Apple doesn't have:
First, the Data Safety form. The counterpart to Apple's privacy label, filled in under "App content" in Play Console. Same requirement to declare third-party SDK data behavior, same requirement to match the privacy policy. One notable difference: Play explicitly asks whether data is "shared with third parties" — apps with ad SDKs must answer honestly, because getting caught mis-declaring after launch means removal, which hurts far more than rejection.
Second, the target API level. Since August 31, 2026, new apps and updates must target Android 16 (API 36), or submission is blocked by automation. This is a hard gate that rolls forward one level every year. The vibe-project trap is stale tutorials and templates: many AI-generated project templates still default to target 34 or 35 — check targetSdk in build.gradle before submitting. Raising the API level can change runtime behavior (Android 16 enforces edge-to-edge, among other things) — don't do it for the first time on submission day.
Third, the 14-day closed test for new personal accounts. Personal developer accounts created after November 13, 2023 must run a closed test before publishing: at least 12 testers continuously opted in for 14 days before the production track unlocks. Note the word "continuously" — if someone drops out mid-way and the count falls below 12, the clock restarts. The practical strategy: recruit 18–20 people (headroom for churn), get everyone into the group on day one, manage the list with a Google Group, and glance at the headcount daily. Organization accounts (registered companies) are exempt. Apps must be uploaded as AAB bundles — raw APKs are no longer accepted for new apps.
Cost and timing comparison: a Play developer account is a one-time $25; Apple's is $99/year. Apple's first review usually takes 1–2 days; Play on a new account takes 7+ days. The two review queues are independent — submit to both in parallel instead of waiting for one to clear before starting the other.
 Flowchart of the mobile app launch pipeline: TestFlight beta, store review with rejection loop, and release
Figure 2: App Store vs Google Play review comparison — nine dimensions from fees and testing requirements to privacy declarations, account deletion, target versions, and appeal channels.
7. The Rejection First-Aid Kit: Emails, Appeal Letters, and Expedited Review
How to read a rejection email, in order: first the guideline number (the diagnosis), then the reviewer's reproduction steps and screenshots (the lesion), then the Resolution Center history (prior offenses). The number decides the strategy: "factual" rejections like 2.1 (crashes) and 5.2.1 (privacy) are fixed by doing what they said and resubmitting — highest pass rate; "judgment" rejections like 4.2 (minimum functionality) and 4.3 (spam) are the ones that call for an appeal.
The appeal letter template (written in Resolution Center, in English, three paragraphs): paragraph one restates the issue — "We understand the app was rejected under guideline X for [reason]"; paragraph two states exactly what changed, down to the version and location — "In build 1.2.3 (build 45), we have [specific change]. The account deletion option is now available at Settings → Account → Delete Account"; paragraph three gives the verification path — "You can verify by [demo account login / steps]." Keep it factual, no arguing, no complaining. A reviewer reads hundreds of these a day — clearly stating "what changed and where to verify it" is the greatest courtesy you can offer.
Expedited Review is Apple's queue-jumping channel, but only for genuine emergencies: a critical production bug making the app unusable, or a launch tied to a fixed date (keynote, holiday release). Request it in App Store Connect with a stated urgent reason. Two caveats: don't abuse it — two or three times a year is normal frequency; monthly requests get ignored. And expedited only speeds up the queue, it doesn't lower the bar — what deserves rejection still gets rejected. Google Play's counterpart is priority review for critical bugs, likewise reserved for real production incidents.
One last honest word: write "2–3 rounds of rejection" into your launch timeline. For a vibe project, three weeks from code-complete to store-listed — covering review and rework — is a healthy expectation. Schedule it tighter than that and your final week will pit review feedback, user reports, and your own blood pressure against each other.
Comments (0)
Related articles
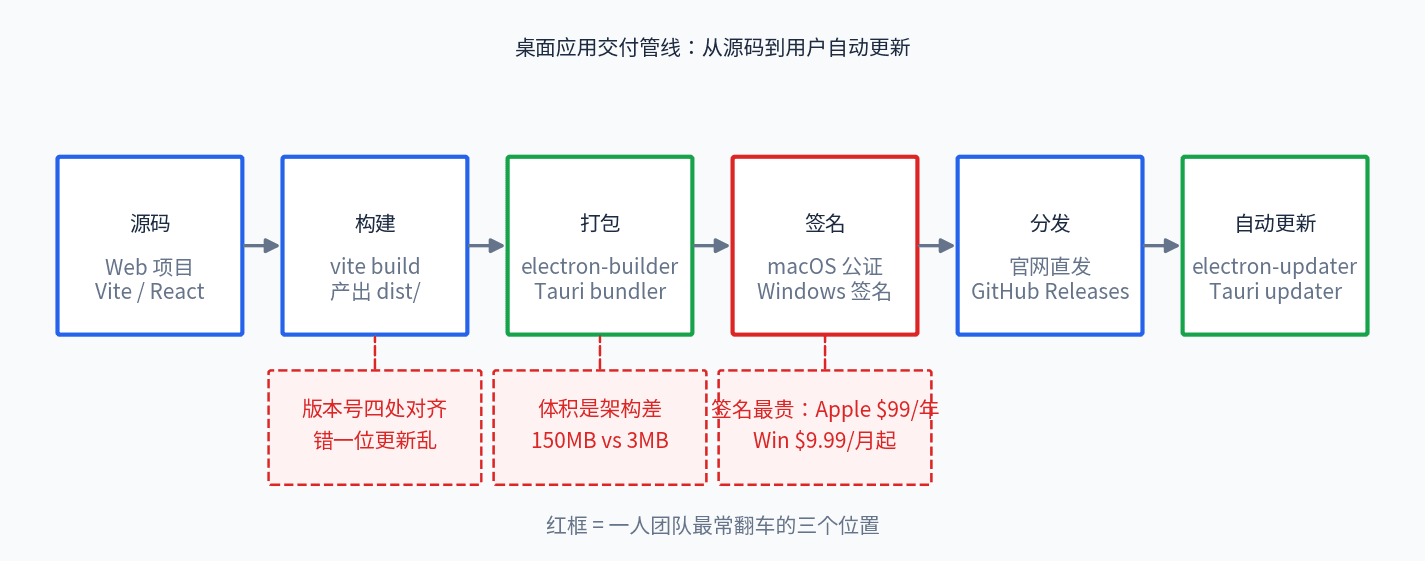
From npm run dev to a double-clickable installer: a solo-team field guide to desktop packaging for vibe projects. The 5 scenarios where the web hits its limits, an Electron vs Tauri decision tree, minimal packaging with electron-builder and the Tauri CLI, auto-update and 2026 signing costs, 6 moves to slim a 200MB installer to 30MB, a GitHub Actions three-platform matrix, and direct download vs. store distribution.
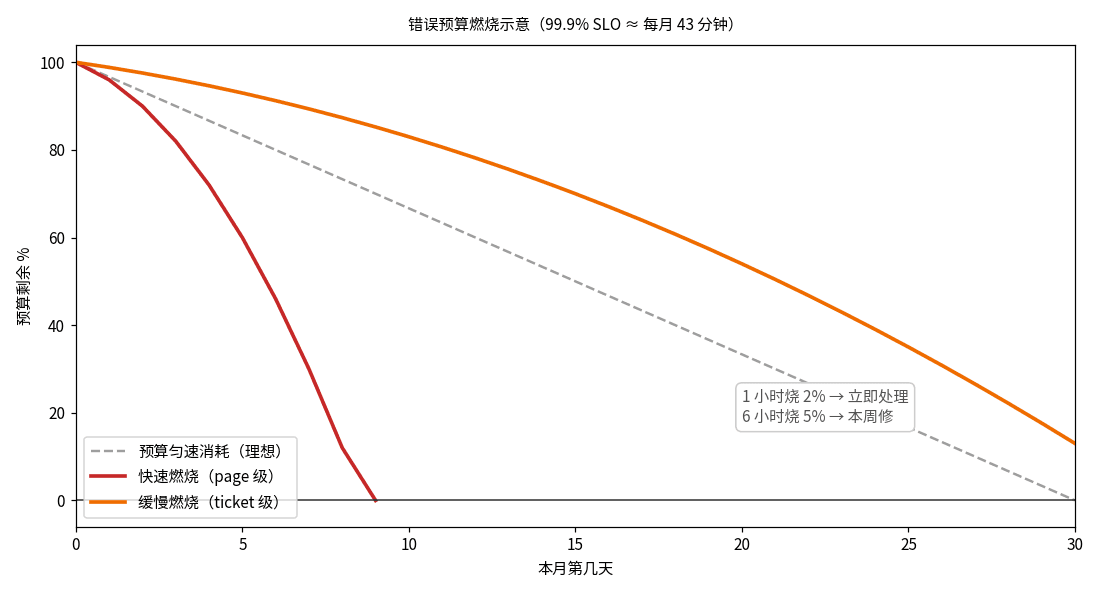
AI-generated code has no concept of reliability — everything is 'feels fast.' This guide gives solo teams the SRE decision layer: SLI/SLO/error-budget in plain terms, two-tier burn-rate alerting, and a minimal implementation (one SQL + one cron + one status-page line) plus the 'budget gone, releases freeze' discipline.
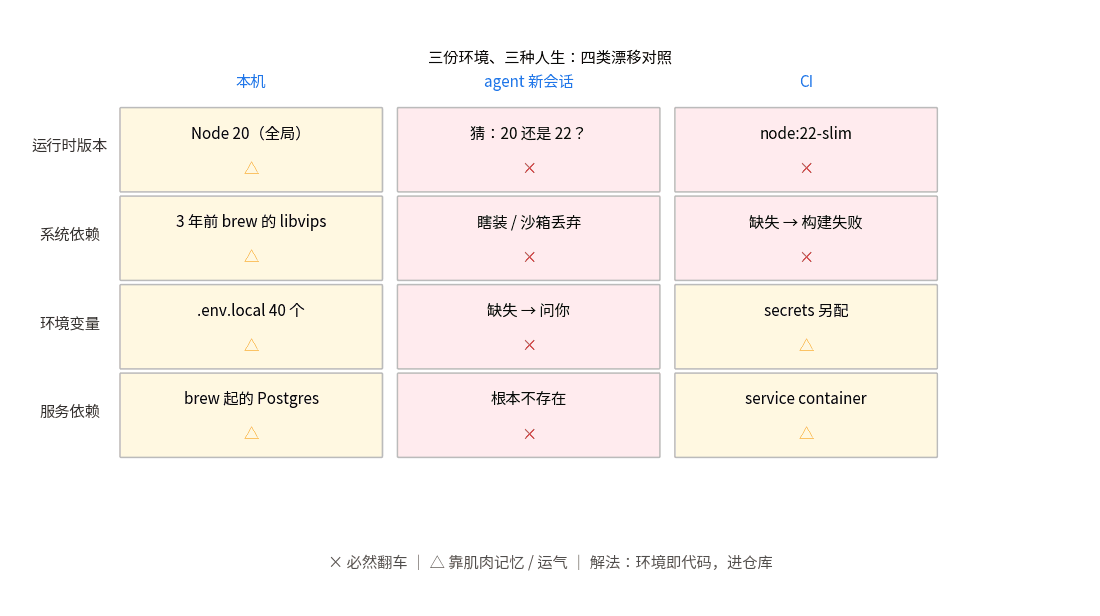
Your code runs in three different environments: your laptop, a fresh agent session, and CI — and they disagree. This guide standardizes the dev environment for vibe projects: a full devcontainer.json template (Node+Postgres), the nix-flakes endgame, and a 15-minute minimum viable version.